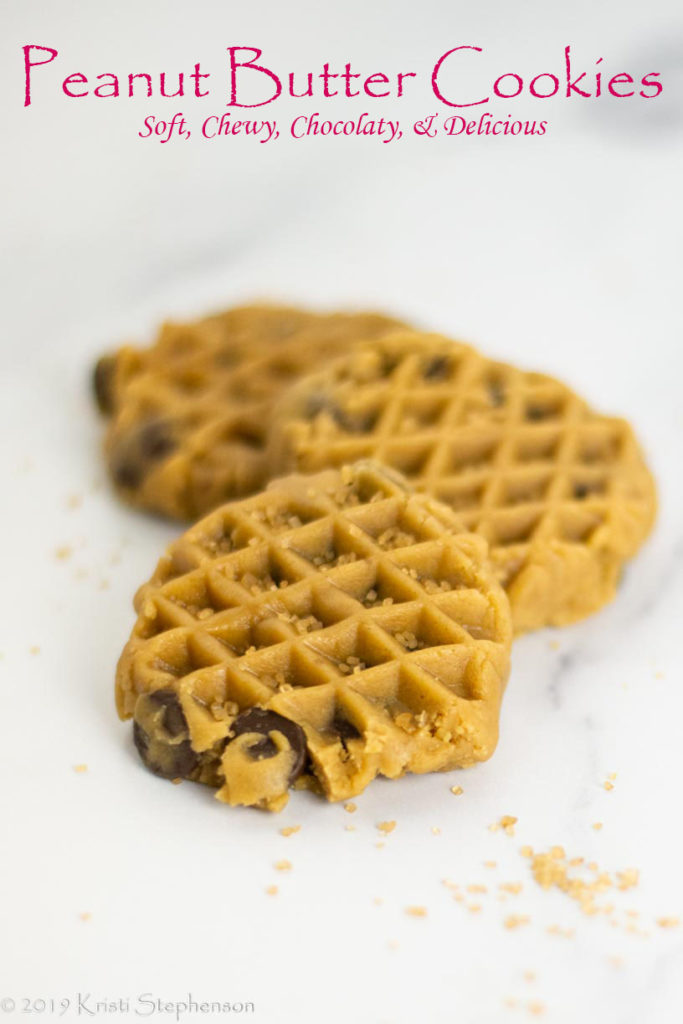
I was recently craving a nice soft, peanut butter cookie. Not the “traditional” kind that tend to have a crisp and crunchy texture, but a tender melt-in-your-mouth cookie.
I will freely admit that one of my biggest food weaknesses is peanut butter. Slathered on everything from toast to bananas, celery, carrots, apples, crackers, pieces of chocolate … I may even eat *little* (*ahem*) spoonfuls sometimes. Or have you ever tried a spoonful of peanut butter sprinkled with chocolate chips? Anyways… you get the idea.
But this time a spoonful of peanut butter wasn’t quite going to cut it. A peanut butter cookie it must be! With a perfect soft and tender texture.

Searching for “The Perfect” Recipe
So, I set out to scour the internet and see what I could find. There were several recipes that made good candidates for a potential soft and tender peanut butter cookie, but I landed on one from Sally’s Baking Addiction. She claims it is “the one and only peanut butter cookie recipe you’ll ever need again” and that the cookies are “soft, thick, puffy, and will melt in your mouth… not hard or crunchy like traditional peanut butter cookies.” AND that they would get softer after a couple days.
All my boxes checked in one recipe! And she does a few things differently that I thought might actually make that difference to get a soft peanut butter cookie. So I gathered my ingredients and set out to put this cookie recipe to the test!

What Type of Peanut Butter to Use?
One other thing I read about peanut butter cookies, is that you should use one of the pre-mixed kinds of peanut butter like Jiff or Skippy.
Some folks I read/watched claimed that if you try to use a natural peanut butter (which is normally what we keep in our cupboard), that it would separate during baking and ruin the cookies.
Well, I am hear to tell you that I’ve tried both types of peanut butter, and they both work equally well, at least in this recipe! I prefer to buy natural peanut butter, so that is usually what I have on hand, and what my go-to is for making these cookies.

Peanut Butter Cookie RESULTS
I made a few small tweaks to the recipe, and also tried rolling vs. stamping. If you like the stamped look, check out these Nordic Cookie Stamps. The modified recipe I used follows, and you can also find the original over at Sally’s Baking Addiction (link to recipe).
And guess what?!? These cookies WERE perfect! They turned out just as I had hoped, soft, tender, melt-in-your-mouth deliciousness. It was a gooooood day in our kitchen! 🙂
I also tested out freezing them pre- and post- baking. Both methods worked well. Freezing pre-baking, I just popped them in the oven frozen, for an extra couple minutes (~14 total).

So what are you waiting for? Time to get baking! If you are looking for some more cookie recipe ideas, check these out:


Equipment
- Cookie sheets
- Cooling rack
Ingredients
- ½ cup unsalted butter (softened to room temperature)
- ½ cup brown sugar (the original recipe calls for dark, but either will work)
- ¼ cup granulated sugar
- 1 large egg (at room temperature)
- ¾ cup creamy peanut butter (although chunky will work if you like the added texture)
- 1 tsp vanilla extract
- ½ tsp baking soda
- ½ cup all purpose flour
- ¾ cup whole wheat pastry flour
- Peanut butter chips – a couple handfuls
- Semisweet chocolate chips – a couple handfuls
- More sugar for finishing (your choice, but a larger grain sugar is fun here, like raw sugar)
Instructions
To start:
- Whisk together the dry ingredients.
In your stand mixer, or a bowl with a hand mixer:
- Beat the butter and sugar together until fluffy.
- Add the egg and vanilla, and beat until the mixture lightens in color, a couple minutes.
- Add the peanut butter and beat well, another couple minutes until light and fluffy.
- Add dry ingredients in three additions, mixing just enough to incorporate each time.
- Refrigerate the dough for at least 30 minutes, and up to overnight.
Shape:
- Preheat oven to 350°F.
- Roll the dough into balls. I used a 1.5 tbsp scoop leveled off to measure, then rolled into balls. Dough balls can also be frozen at this point – see notes.
- Optional: roll the dough balls in sugar before putting on the cookie sheet. You can use any type of sugar depending on how large of crystals you'd like.
- Optional: press the dough balls with a cookie stamp.
- Place the dough balls onto a non-stick cookie sheet. I like to also use a silpat liner for these cookies to ensure the bottoms don't get too brown.
Bake:
- Bake @ 350°F until the cookies are just barely cracking on the top.
- For the dough balls, bake ~11 minutes.
- For the stamped cookies, bake ~9 minutes.


Dariane
Yum! I LOVE peanut butter too! I have t done the choc chips in a spoonful of peanut butter but it reminded me of Hershey bars dipped in peanut butter. LOVE that snack! 😁
Kristi
Yum! That sounds delicious too! Chocolate + Peanut Butter in any form is always a win 😛